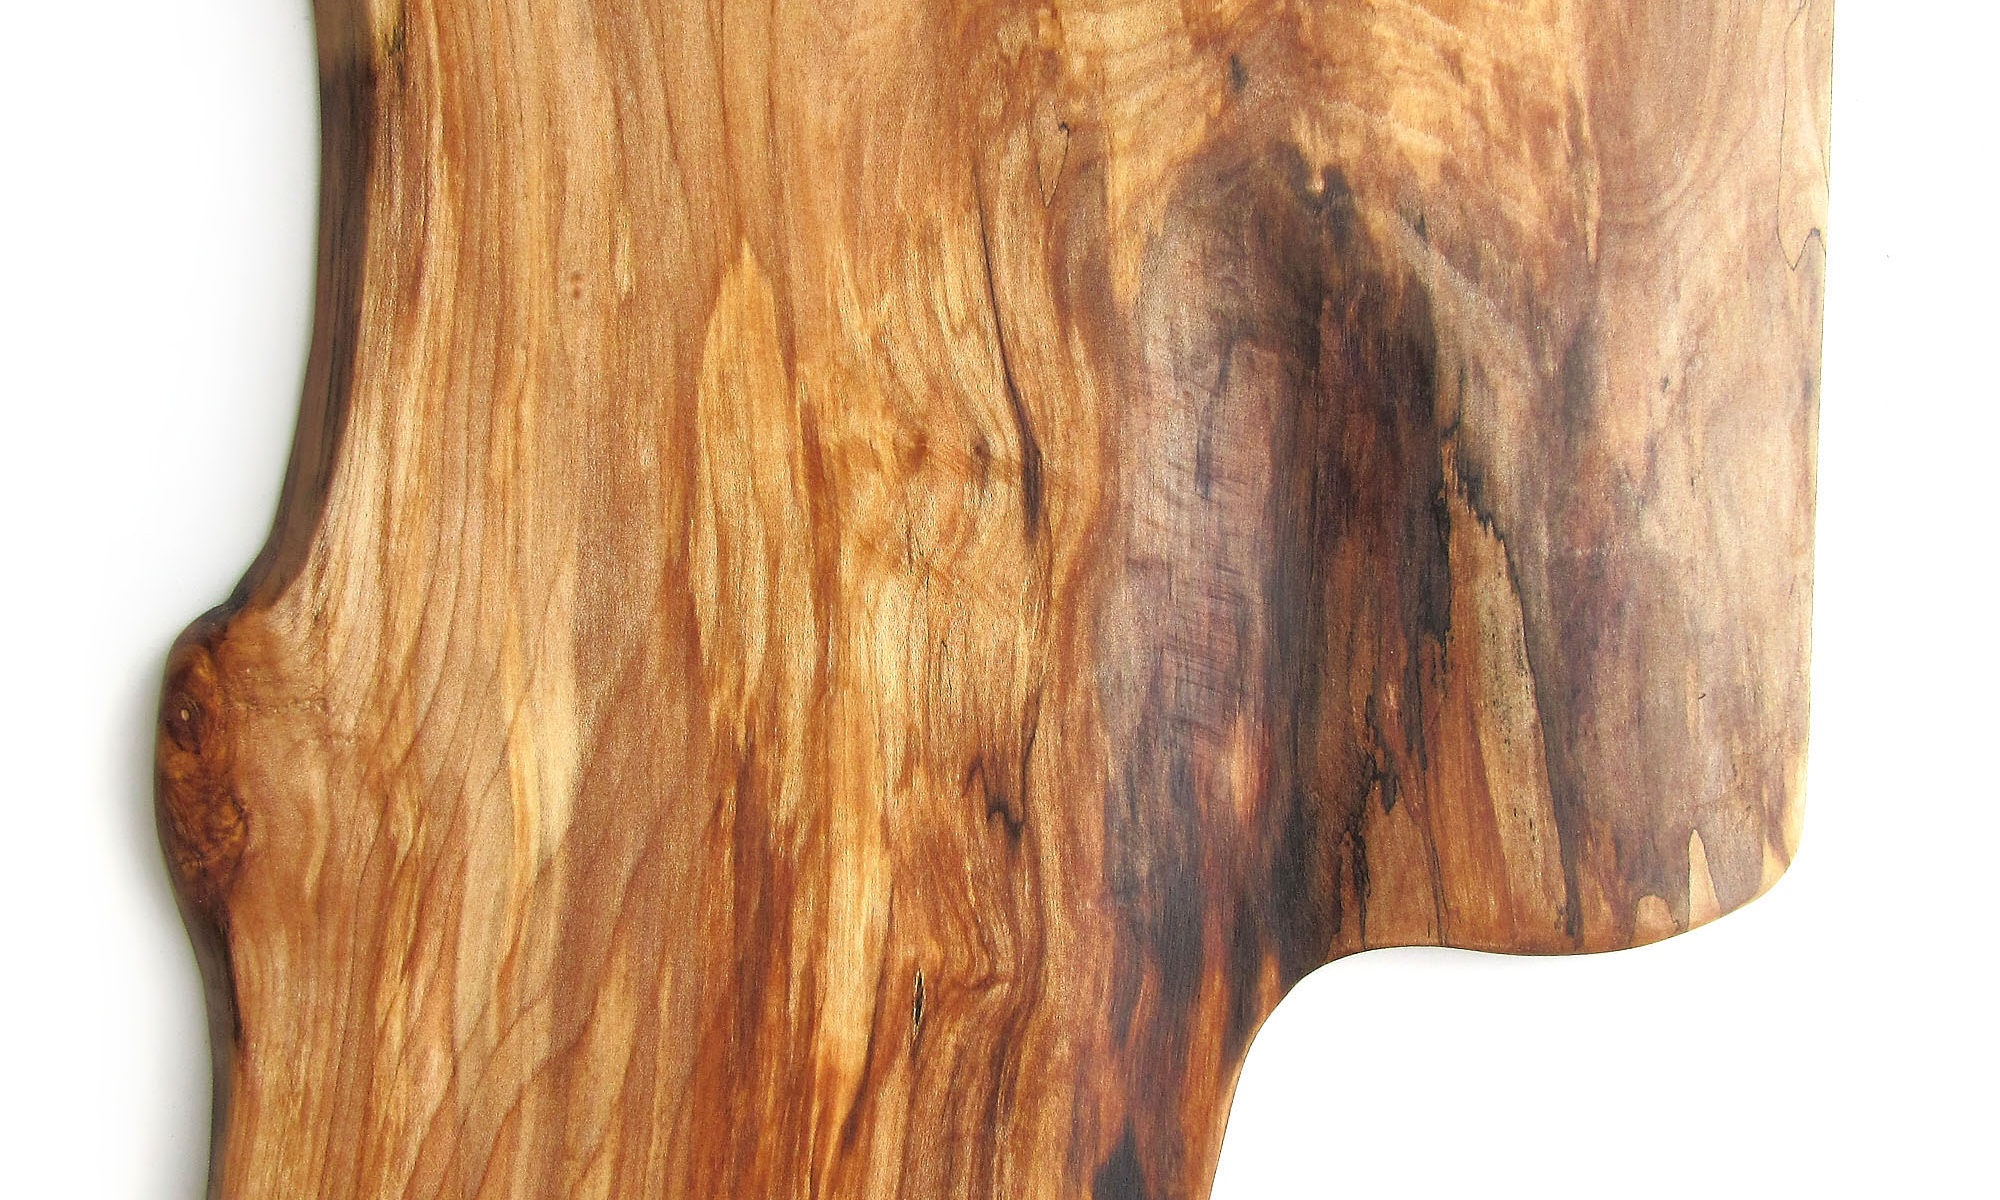
This blog is here to give you an insight into my process, a behind the scenes look at what a woodworker gets up to day to day as well as news of any upcoming events to keep an eye out for. Here is the start of an alder wood spoon. Alder is soft to carve and retains shape well making it the perfect choice if you want to start carving.

I often begin spoons and scoops with a generic shape but as you will see if you look through my shop or gallery, rarely do they come out looking like this in the end. I start with this simple shape to allow for the wood to tell me what to do. First, I gouge the bowl of the spoon with my hook knife (or scoop). Then I cut out the blank following the rough shape I’ve drawn. You can start by cutting the shape out first but I find it easier to carve the bowl if I have more material to clamp down to my bench. Once I have the blank in my hands I begin removing material with my knife. It is then that the spoon starts to take shape. A combination of my knife, a rasp and various grits of sandpaper are the final layer before finishing with food safe oil and my Timsboard Original Wax. It really is such a therapeutic experience carving a spoon. And it is really easy to get started. All you need is a lump of wood, a scoop and a knife… oh and plenty of patience!

